Sink Installation
Check Your Plumbing
Before you begin the installation process, check the quality of your supply pipes and drainpipes. If they are rusted, you’ll need new ones.
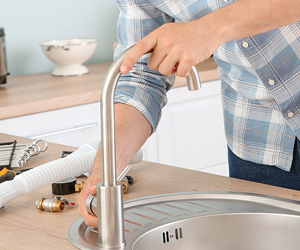
Turn Off and Disconnect Water Supply
Cut your water supply using the shutoff valves underneath the sink. To bleed water pressure off the lines, open your sink faucet and let the water run until it turns to a slow drip. Use an adjustable wrench to disconnect the water supply tubes under the sink, keeping a bucket on hand to catch any excess water. If you have a garbage disposal, unplug it, and then locate the circuit breaker and turn off the power.
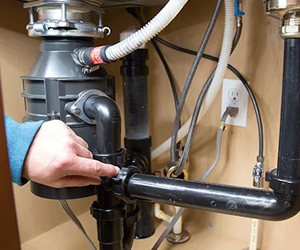
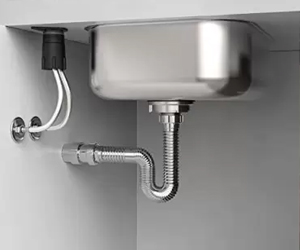
Remove the P Trap and Any Other Connections
Use pliers to loosen the nut attaching the P trap (the U-shaped part of the drainpipe) to your sink. Pull the P trap off, again using a bucket to catch any excess water. If you have a dishwasher, disconnect the drain line using your pliers. If you have a garbage disposal, consult the manufacturer's instructions for removal.

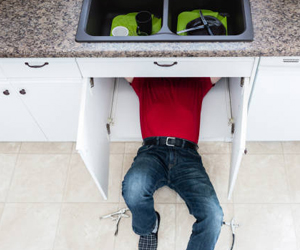
Remove Sink Supports
Check for any clips or bolts fastening your sink to the countertop and remove them with a screwdriver.
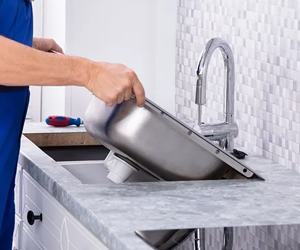
Remove the Sink
Use a utility knife to remove the sealant or caulk around the rim of your sink, then carefully remove your sink from your countertop. Clear any remaining screws or nails, and cut away any remaining caulk.
Double-Check That It Fits
Lower your new sink into the hole in your countertop to ensure it will fit. If the hole is too small, flip the sink upside down and place it over the hole. Trace the edges of the sink. Subtract ½" from all four sides of the tracing and mark it with a pencil. This is the new countertop cutout size that should be used as it will ensure there is a lip for the drop-in sink to rest on. Use a tile cutter to make any necessary modifications.
Install Sink Hardware
Place the clips onto the sink and turn them inward, toward the sink bowl. Feed your faucet and faucet supply lines through the openings in your new sink. Attach the drain. Apply a bead of caulk to the underside of the drain to create a watertight seal. Underneath the sink, tighten the gasket. Remove any excess caulk. If you will be using a garbage disposal, install the mounting bracket under the sink.
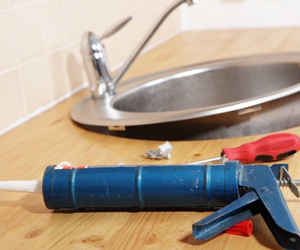
Secure the Sink
Apply a small bead of caulk to the underside of the sink's lip. Lower the sink into place, taking care to align the drain and pipes. Press the sink down firmly and wipe away excess caulk from the countertop. Rotate and tighten any clips or bolts, fastening your sink to the countertop.
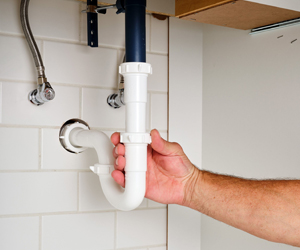
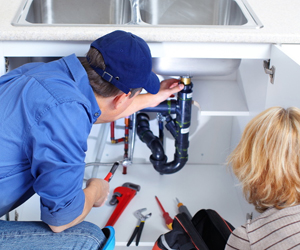
Connect the Plumbing
Reattach the P trap and connect water supply lines to the faucet lines. Reinstall the dishwasher drain if you have one, and if you have a garbage disposal, follow the manufacturer's instructions for installation.
Test It Out
Turn on the water supply and run the water. Check for any signs of leaks and adjust accordingly. Turn on the power at the circuit breaker for the garbage disposal.