Tiles laying

Wall Requirements
The wall should be strong and flat. The surface should be smooth. The wall should not be waxed/painted. Wall should be clean and dry if the tiling has to be done on plywood. The surface of the wall should be sealed with a 50% volume mixture of PVA and water.

Tiles Preparation
Mix the tiles from different cartons which will help in fine blending of shades.
Tiles Laying
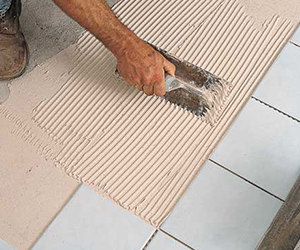
Firstly, apply the high-quality ceramic adhesive on the wall and place the first tile on the corner. Apply even pressure of the four corners of tiles to ensure sticking Fill the area of wall that can be filled with the tiles without cutting and leave it for at least 12 hours. Fill the rest of area with the measured and cut tiles.

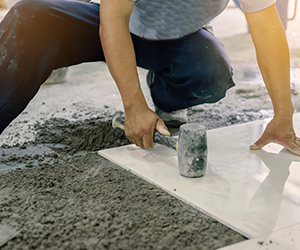
Temping Process
To ensure the proper contact of tile with the wall, evenly tamp the tiles with a rubber mallet tamp.
Applying Grout
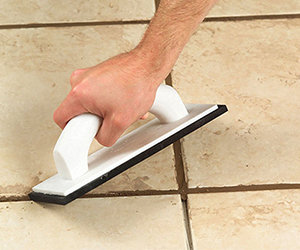
On the next day, the grouting is done. Apply the grout diagonally between the tiles using a sponge to fill the gaps between the tiles. Clean and wipe the surplus grout with a sponge.
Curve Cutting
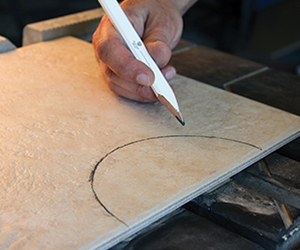
To fit the tile in a curved surface of wash basin etc. measure and mark the curve on cardboard and place the cardboard on the tile to cut it.
Hole Cutting
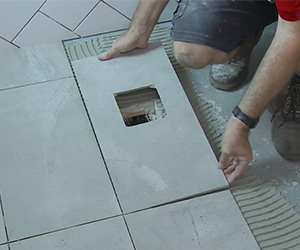
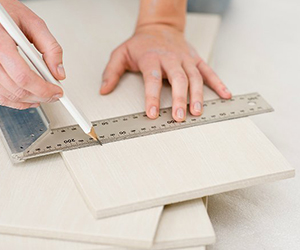
To pass a pipe through the tile, the tile has to be cut iri a specific manner. Mark the position on the tile, which the tile will occupy. Draw a straight the passing through the centre of the circle. Cut the tile on the line drawn. Cut the semi-circles on each of the half and when these two halves placed together will form a hole.
Window Recess Tilting and Cutting
Tile has to be cut in “L” shape for window recess. Cut a line from centre to edge and then draw a right angle line vertically down. Cut the tile to get an “L” shape that can fit in a window recess
Accessory Tiles Fitting
While laying the normal tiles, keep an empty space where accessory tiles will fit. Apply the adhesive on the back of accessory tile and then place it uniformly in the space and apply even pressure to place the accessory tile.
Tile Drilling
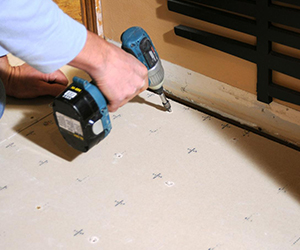
Apply masking tape to cover the area to be drilled. Mark the position of hole and drill the hole with lowest possible pressure on the drill.

