Vanity Installation

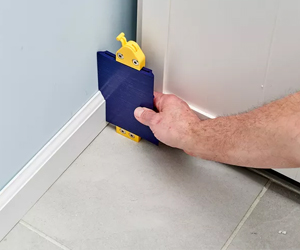
Locate the Wall Studs
Use an electronic stud finder to locate at least one wall stud on the wall behind the vanity location. Mark the centre of the stud. Repeat the process to find a second stud if possible (studs are typically 16 inches apart, centre-to-centre). If the vanity is boxed in by a sidewall, also find the wall studs in the sidewall.
Set and Fasten the Vanity
Measure the cabinet height, mark the height on the back wall, and draw a level line. Place the cabinet, ensure it's level and use shims to adjust if needed. Secure the cabinet with screws to the back wall. For sidewalls, attach after using a filler strip.
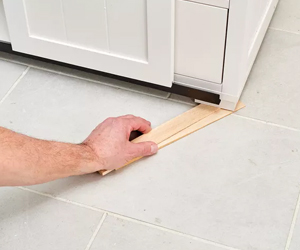
Fill the Side Gap (Sidewall Installation Only)
To fill a gap between the vanity cabinet and the sidewall, cut a narrow filler strip to fit the profile of the wall using a profile gauge or paper template. Adjust and attach the strip to the cabinet with screws or glue.
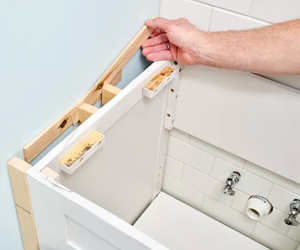
Fasten to the Sidewall (Sidewall Installation Only)
Anchor the side of the vanity cabinet to the sidewall by adding blocks for support. Cut two wood spacer blocks to the width of the gap and place two shims between them and the wall. Drive a screw through the cabinet side and into the wall at a stud location, using the spacing blocks and shims for support.
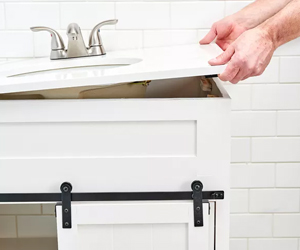
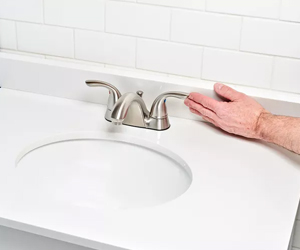
Install the Vanity Top
Attach sink to countertop. Install faucet and drain fittings as directed. Apply adhesive to cabinet corners. Place countertop/sink on cabinet.
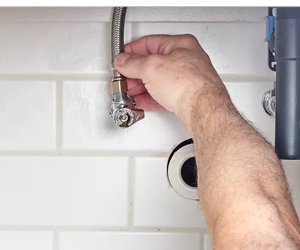
Connect the Plumbing
Connect the water supply lines to the faucet, and connect the sink drain to the drain trap and the branch drain, following the manufacturer's instructions.
install the Backsplash (as Needed)
Place the clips onto the sink and turn them inward, toward the sink bowl. Feed your faucet and faucet supply lines through the openings in your new sink. Attach the drain. Apply a bead of caulk to the underside of the drain to create a watertight seal. Underneath the sink, tighten the gasket. Remove any excess caulk. If you will be using a garbage disposal, install the mounting bracket under the sink.
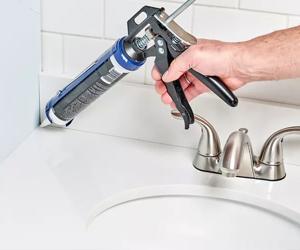
Caulk the Joints
Apply a bead of silicone caulk where the countertop meets the wall. If there is a backsplash, caulk along all joints where the backsplash meets the wall and where it meets the countertop. Let the caulk cure for 24 hours before using the vanity.